

Overview
This post describes how to add OAuth2 authentication to a bot so it can perform certain GitHub operations on behalf of the user. The article assumes that you already have a bot deployed in Azure. GitHub is used as the identity provider to authenticate the user and to generate a bearer token which the bot uses to perform GitHub operations on behalf of the user. In its simplest form, the bot should allow the user to perform basic GitHub commands like listing and accessing repositories. You can download an example of this kind of bots from GitHub here.
The sample is not maintained. Use it as a starting point.
Create a GitHub OAuth application
- In your browser, log in to your GitHub account.
- Navigate to GitHub Apps.
- In the left pane, click the OAuth Apps link.
- Click the New OAuth App button.
- Confirm your password.
- Enter the following information:
- Application name. This is the name of the application.
- HomePage URL. https://dev.botframework.com.
- Application description. The intent of the application.
- Authorization callback URL. https://token.botframework.com/web/redirect.
- Click the Register application button.
- Upload a logo.
- Click the Update application button.
- Copy and save the Client Id and the Client Secret. You will need them when setting the bot Oauth connection string in Azure.
Create an authentication connection
The following are the steps you must perform to create an authentication connection.
- In your browser, navigate to the Azure portal.
- Select your bot registration resource.
- In the left pane, click Settings.
- In the right pane, scroll to the bottom of page.
- In the OAuth Connection Settings section, click the Add Settings button.
- In the New Connection Setting page, enter the following information:
- Name. The name of the connection.
- Service Provider. From the drop-down list, select GitHub.
- Client Id. The GitHub OAuth application Client Id.
- Client Secret . The GitHub OAuth application Client Secret.
- Scopes. A comma-separated list of GitHub commands, for example: read:user, user:email, repo.

- Click the Save button.
Test the Connection
- Click on the name of the connection you just created.
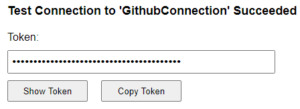
- In the displayed connection page, click the Test Connection button in the upper right.
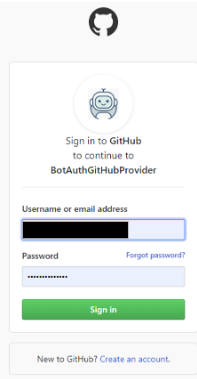
- If you are not signed in GitHub, you will be asked to do so.
- Once signed in, you should be getting your authentication bearer token.
Test the bot
- In your browser, navigate to the Azure portal.
- Select your bot registration resource.
- In the left pane, click Test in Web Chat.
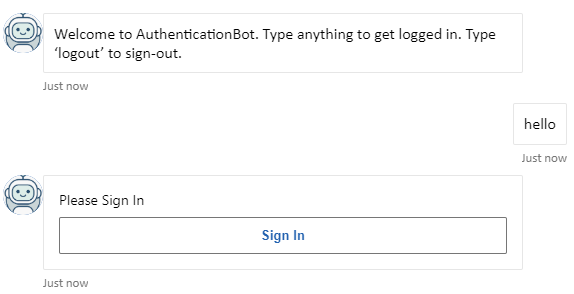
- In the example shown here, you receive a welcome message.
- Enter any message in the text box. You will be asked to sign in.
- Click the Sign In button.
- Once signed in successfully the bot displays a set of GitHub commands you can use, at the least in the example referred to in this article.
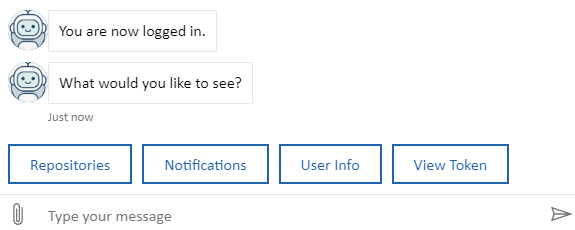
- If you click the Repositories button, you get the list of the GitHub repository you can access. And you can get to those repositories in GitHub.
References
- Good OAuth overview easier to follow than the formal specification
- OAuth specification
- OAuth in a Nutshell